Plug in your camera to the computer’s firewire input, with the special camera to computer connector firewire cable. (note:for class cameras the input is next to the tape input). Turn Camera On, and set camera to VCR setting. We will also be using ipad’s in class that will provide you with an opportunity to export the complete clips directly to final cut pro.
Open Final Cut Pro 7
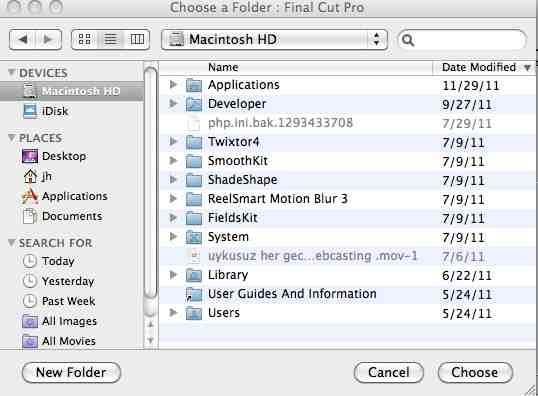
Set up Scratch disk settings by going to Final Cut HD >Go to System Settings
Select Set > Allocate the settings to your Hard drive or storage area…then click OK
Go to File > Open Log and Capture or Quick Key (Apple +8)
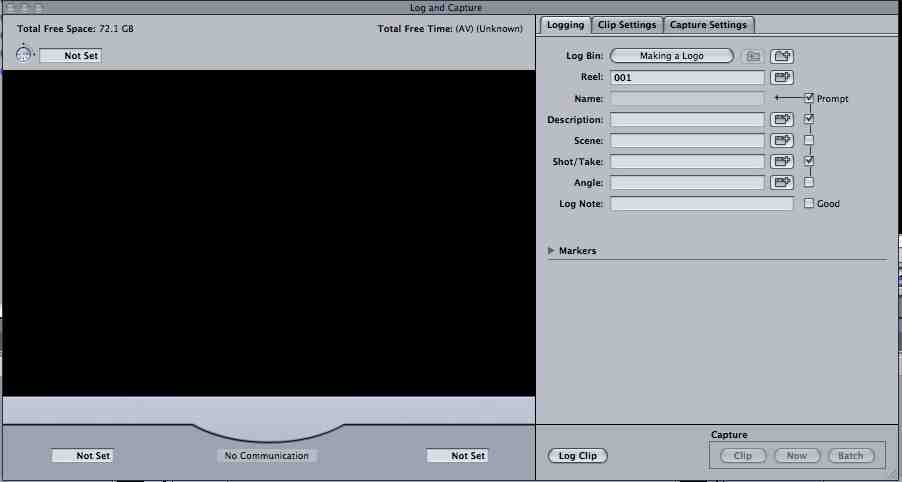
Set Titles for individual clips under clip settings. For example Description: Bob Falls Off the Chair. Scene: Bob’s Spill Shot/Take: 1
***note*** for the sake of organization, choose titles that are closely correlated to the footage you are viewing.
Go To VTR setting on Capture Screen and Play Footage or use your camera as a video deck and press play in the VCR setting of the camera. Press Capture Now to save the footage being viewed on screen.(A new screen that is recording the footage will appear displaying your images at a slower frame rate!!!)

Press Capture Now to save the footage being viewed on screen.(A new screen that is recording the footage will appear displaying your images at a slower frame rate!!!)
Press Esc to exit capture screen or press stop on the VTR of your camera. Continue with this process to capture the remaining clips that you would like to edit with. After your clips are captured, go to the bin where your files will now appear as segments.
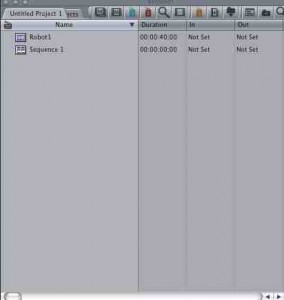
and drag and drop the segments/clips that you just saved onto the timeline
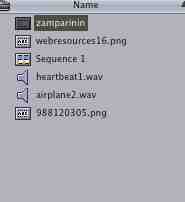
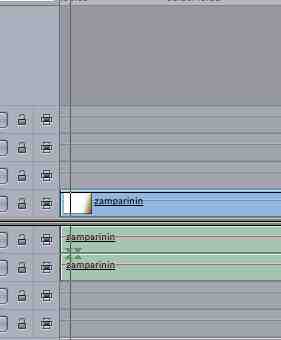
and enjoy editing the movies ![]()

