In which Media is Divided and Sequenced. Behold!
TIMELINE
After you have imported your files, your files will appear in the bin. As a segment, similar to the segment “message in a bottle” below. The “sequence 1? envelopes and entire timeline, and is the sum of many segments. At this point in time you may still change the names/descriptions of sequences and segments, by clicking on them.

In order to begin making your movie, drag and drop the segment into the timeline. Your segment will appear with a blue bar, and two green bars. The two green bars represent the two channels of audio. The blue bar represents your one channel of video.
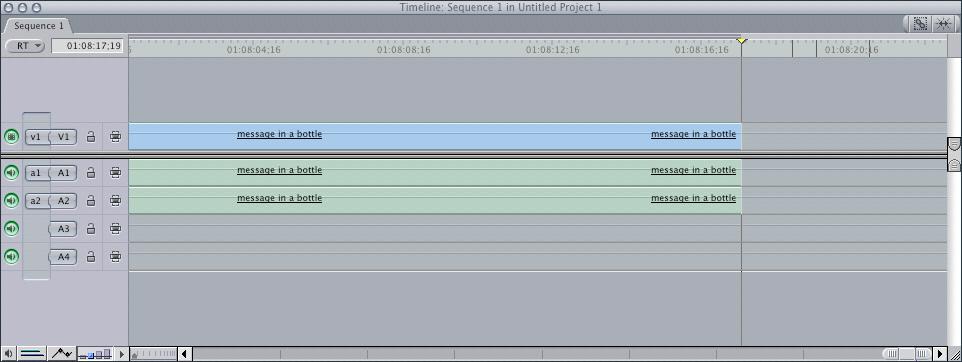
The viewer correlates to your timeline and the segments on the timeline.
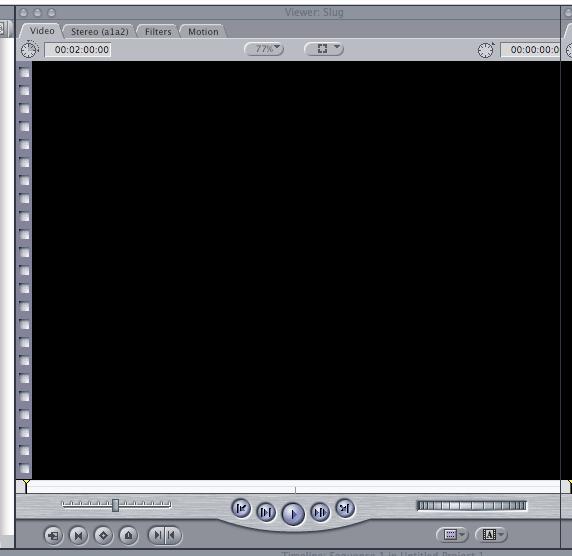
The options at the bottom of the viewer controls the playhead within the time line. Clicking play or space bar will begin playing your movie. The controls for fast forward and skipping ahead to the end of the movie are to the right of the play button or “L”. The controls for rewind or and skipping to the end of the movie are to the left of the play button or “J”.

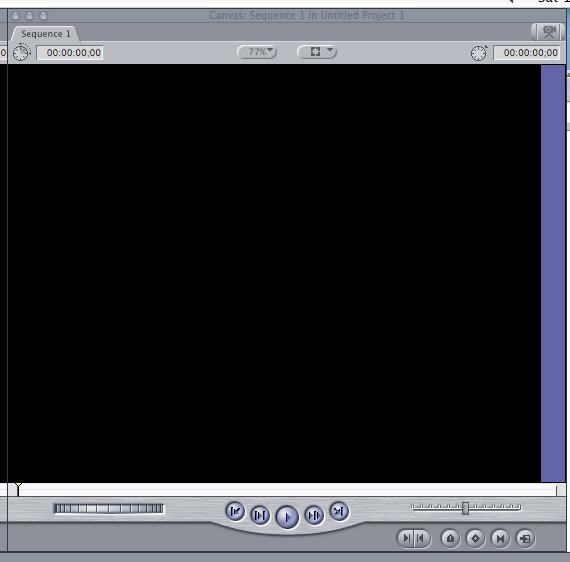
The canvas correlates to individual segments. Double clicking an individual segment will make it appear within the canvas. This allows you to manipulate a segment with in the canvas instead of along the timeline.
After the segment is on the timeline, you may manipulate the segment that is within the sequence with the attributes found in the tool box. The most commonly used attributes are the arrow pointer that selects your desired objects or positions the play head along the timeline.
![]()
And the razor tool which cuts your segment along the timeline.
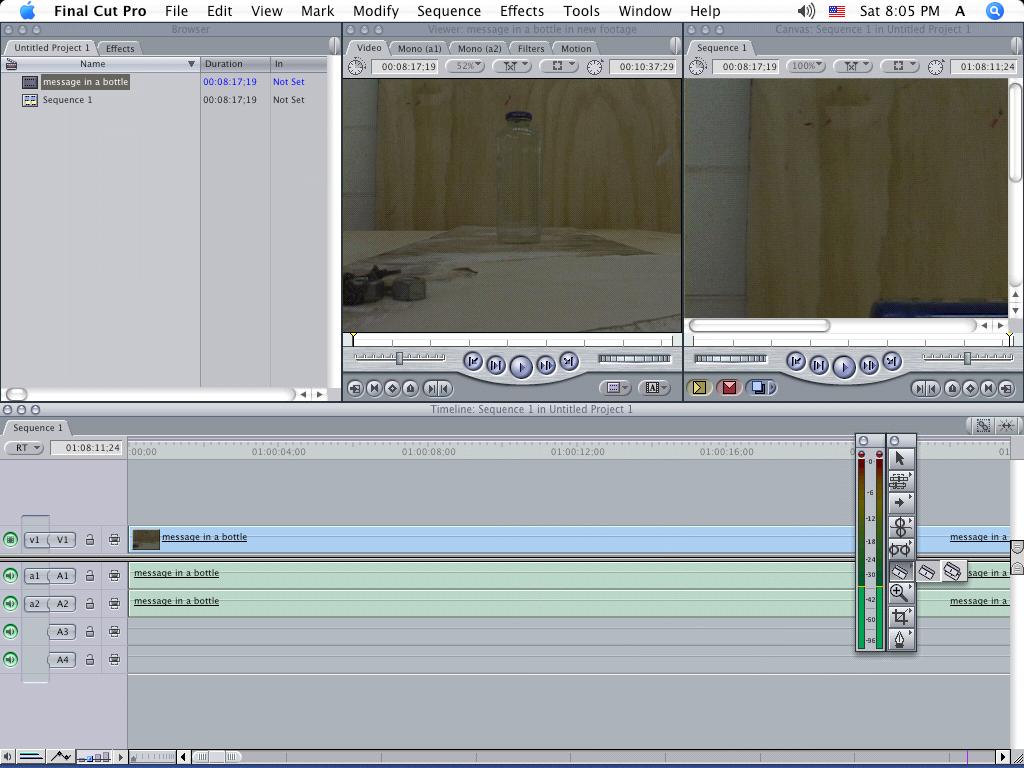
Select the razor, and cut a portion of your segment. Creating two cuts will create a new segment with in your original segment.
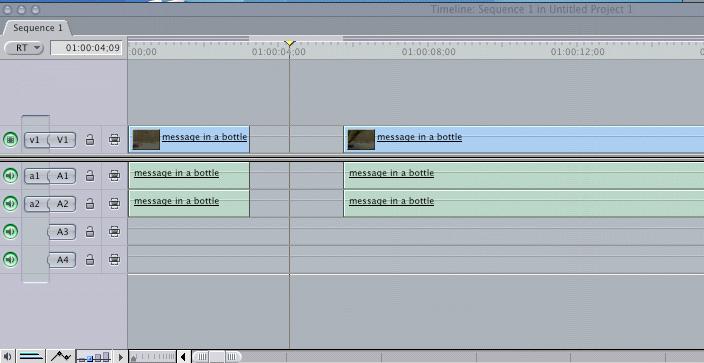
Now you can use your arrow tool to drag and drop the segments into the spaces that you would like them to occupy.
If you have a red bar at the time of the timeline, the sequence needs to be rendered. Apple + R will render your sequence, or you can go to the top of your file bar and select Sequence > Render All > Both.

****extra hints*********************************************************
Ctrl + Click in the open space will provide you with the option to move the two segments together.
Apple + Z will undo any changes that you have made during your edit.
*********************************************************************