=================================================
OCTOBER 24TH — MAKING A LOGO FOR OUR STOP MOTION VIDEOS!!
==================================================
In class laboratory, complete our stop motion videos and create a motion bumper with sound effects to add as the opening bumper, closing bumper, or both….
What is a bumper?
OPENING BUMPER
http://www.youtube.com/watch?v=CvRvIgnyRIg
ANIMATED OPENING BUMPER
http://www.youtube.com/watch?v=UtSdphaOqgs&feature=related
LOWER–THIRD BUMPER
http://www.youtube.com/watch?v=SCkwkE-D8As
OPENING AND CLOSING BUMPER
http://www.youtube.com/watch?v=JuTiczB-K68&feature=results_main&playnext=1&list=PL2C3AD502F39616DF
What is involved? —
1. Make or choose an image or logo
— you may create your logos or images in photoshop, or you can find a logo or image from the web.
— consider including alpha channel or transparency to your image or logo… what does that mean?
— I chose this one: http://aux4.iconpedia.net/uploads/988120305.png
— place the image first in your bin, and then in the timeline of final cut pro
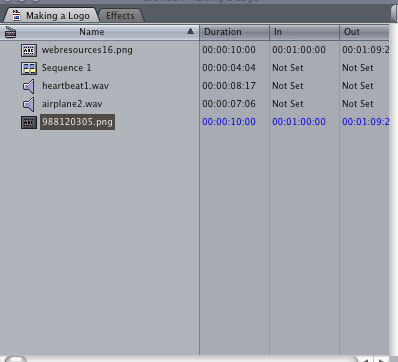
2. Bring the timage into Final Cut Pro
— we first want to make sure that we select View >> Image & Wireframe in the top tool bar…
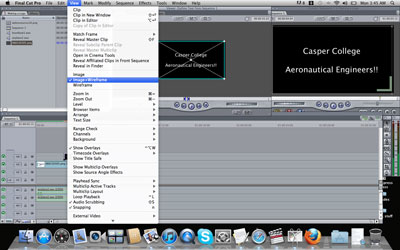
— use the manual key framing technique ( in the Viewer area of Final Cut Pro) to move the image, scale the image, rotate the image, etc….
3. Add sound to your image
— you can find free downloadable sound effects from here:
http://www.stonewashed.net/sfx.html
http://www.acoustica.com/mp3-audio-mixer/sounds.htm
— now bring your sound image into the final cut bin and place it under the video
— there may be two layers of audio in the timeline why may that be???

4. Now we will create text in the viewer…
— First go and select the little A button at the bottom of the viewer…
![]()
— There will be a few different choices for creating different styles of Text…
— Next go under the Controls Tab Next To Your Bin Tab and you will have the ability to add the words you want to your text…
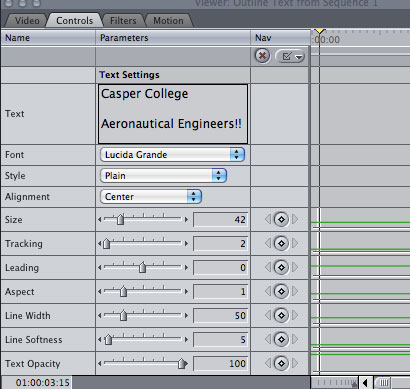
— Finally, drag the gray/ outside part of the viewer and pull it onto the timeline…
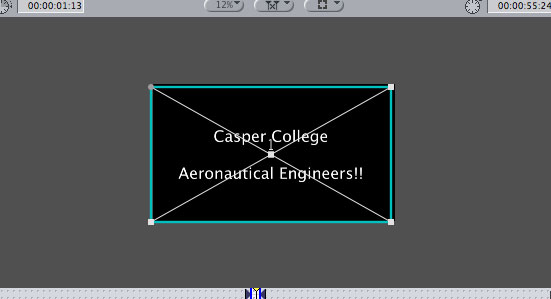
— Now you have a text image to use as you wish…
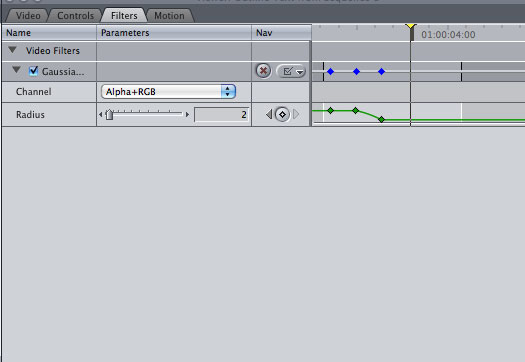
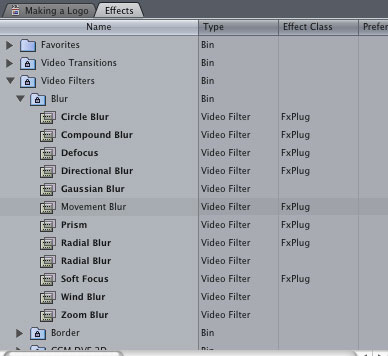
5. I added a gaussian blur filter from the effects part of the bin…
— I also key framed the filter so that the title decreases as I want it show more
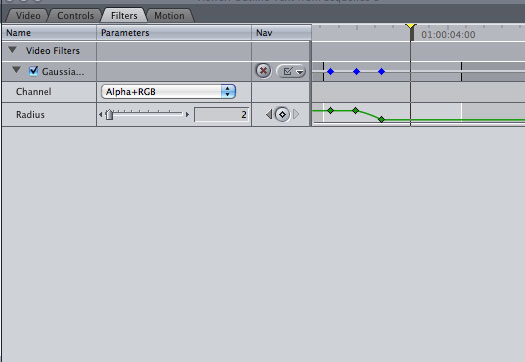
— and lastly I added manual transitions to the files so they look smoother together….